Dealing with a malfunctioning split air conditioning system during scorching weather can be frustrating. Waiting for a technician can take ages and cost a small fortune. Fortunately, with a bit of know-how and some basic tools, you can tackle common issues yourself, saving time and money. This reader-friendly guide will walk you through practical steps on how to service your split AC system at home.
Tools Required for Service of Split AC
Before diving into repairs, gather a few essential tools:
a cheap multimeter,
a voltage analyzer,
nut drivers,
and a set of stocks.
These tools, coupled with your willingness to spend around $50 on parts, can make a significant difference in resolving issues promptly.
Recognizing Common Split AC Failures
- Unit does nothing regardless of thermostat settings.
- Unit turns on, but no air comes out of the vents.
- Sudden emission of warm air.
- Gradual increase in air temperature.
- Unexplained water leaks.
- Higher-than-expected power bills.
- Occasional failure resolved by turning off and on after an hour.
Addressing Main Sources of Faults
Keep in mind that a dirty and clogged split-system AC can significantly hinder its performance. Regular maintenance is key to avoiding these limitations.
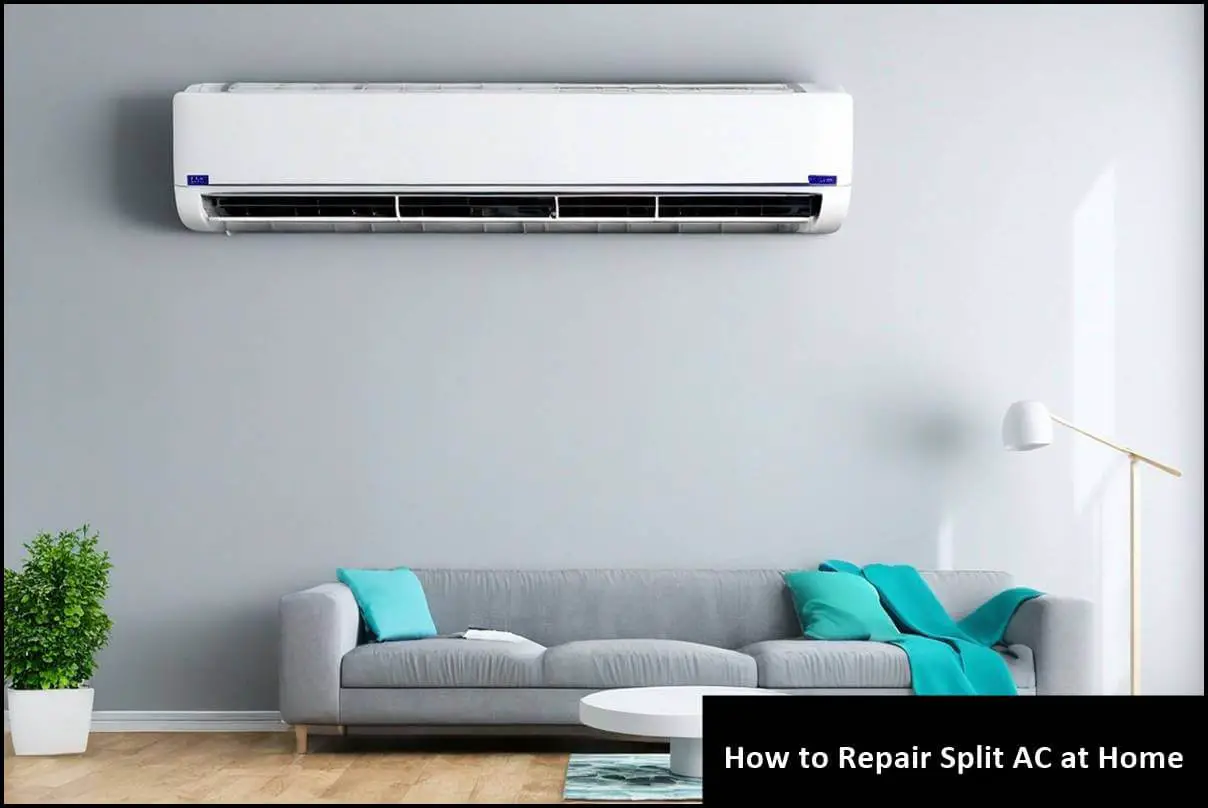
How to Repair Split Air Conditioner
-
Switch Off the Power
Before starting any maintenance, ensure your split AC is powered off. This step is crucial for safety and to prevent electrical mishaps.
-
Clean Filters and Components
Often, a simple cleaning of filters and components can restore normal AC function. Begin by cleaning the filters and components.
-
Locate the Air Filters
Identify the air filters on your indoor unit. They are usually located behind a front panel or grille. Filters trap dust and debris, affecting the unit’s efficiency over time.
-
Remove and Clean the Filters
Carefully remove the filters and clean them with a soft brush or vacuum cleaner. For stubborn dirt, consider washing the filters with mild soap and water. Ensure they are completely dry before reinstalling.
-
Clean the Evaporator and Condenser Coils
Gently clean the coils using a coil cleaner or a mixture of water and mild detergent. Dirty coils reduce the AC’s cooling efficiency, so ensure they are free from dust and debris.
-
Check and Clean the Drain Pan
Inspect the drain pan under the evaporator coils. If you notice standing water or debris, clean it to prevent mold growth and drainage issues.
-
Inspect the Fan Blades
Examine the fan blades for any dirt or obstruction. Clean them using a soft cloth or brush to maintain smooth operation.
-
Assess the Exterior Unit
For the outdoor unit, check for any debris, leaves, or vegetation around the condenser. Trim vegetation and clear away debris to ensure proper airflow.
-
Reassemble and Power On
Once you’ve cleaned all components, reassemble the unit, and power it on. Observe the improved efficiency and enjoy a cooler living space.
-
Inspect and Tighten Electrical Connections
Check for loose electrical connections within the indoor and outdoor units. Ensure all wires and connections are secure.
-
Examine Insulation on Refrigerant Lines
Inspect the insulation covering the refrigerant lines. Replace any damaged or missing insulation to maintain energy efficiency.
-
Check and Calibrate Thermostat
Verify that the thermostat is functioning correctly. If needed, recalibrate it according to the manufacturer’s instructions.
-
Evaluate Refrigerant Levels
While adding refrigerant is a job for a professional, you can still monitor for signs of low refrigerant levels, such as reduced cooling efficiency. If you suspect a refrigerant issue, contact a technician.
-
Lubricate Moving Parts
If applicable, lubricate the fan motor and other moving parts to reduce friction and ensure smooth operation.
-
Inspect Air Ducts for Leaks
Check for any visible leaks or damage in the air ducts. Seal any leaks to improve air circulation and efficiency.
-
Perform a System Test
After reassembling the unit, run a test to ensure all components are functioning correctly. Monitor the unit for any unusual sounds or behaviors.
-
Outdoor Unit Maintenance
Ensure your AC unit is at least 2 feet away from plants to prevent leaves and outdoor particles from clogging the condenser. Regularly remove any debris from the condenser to maintain optimal performance.
-
Handling Split AC Leakages
Combat leakages by cleaning the drain pan to prevent the accumulation of dirt and waste, which can occur due to ventilation vent and filter restrictions.
Preventive Maintenance Steps
If your AC unit has been in use for more than two years, consider the following preventive maintenance steps:
- Disconnect the AC.
- Remove the capacitor grille and clean the filter thoroughly.
- Vacuum and brush off evaporator coils.
- Unclog the device bottom with a hard brush.
- Add a spoon of bleach to prevent scurf growth.
Conclusion
Regular maintenance of your split AC system is essential for optimal performance and energy efficiency. By following these reader-friendly steps on how to service your air conditioner at home, you can troubleshoot common issues and keep your home cool without breaking the bank. Remember, a well-maintained AC is not just a comfort enhancer but also a cost-saver in the long run.
Hello, I’m James, the founder of FixitAllSecure.com. With over 10 years of experience in appliance repair, I’ve made it my mission to assist homeowners like you in resolving appliance issues, saving you precious time and money. From practical repair guides to prevention tips, I’m here to ensure your appliances run smoothly and your household stays stress-free.
